last week i worked my little bum off to make cute gifts for the kids in our sunbeam class because all of their birthdays were last week.
since the beginning of the year these kids have talked a lot about dragons and unicorns.
for every question it seems like the little boy will answer dragons and the twin girlies will answer unicorns.
what's your favorite animal?
what do you want to draw?
what kind of pet do you wish you had?
what kind of animals were put on earth?
what do you want to make with your playdough?
what animal do you want to pretend to be?
the answer is always the same: dragons and unicorns.
i thought i'd use that for their gifts since it's obviously very important to them.
i used this donkey tutorial as a starting point when i made the unicorns and then adjusted things from there.
aside from that tutorial being a little frustrating and confusing i think it got me on the right track to making these cute unicorns.


i didn't put the ears on my unicorns and obviously added the horn but everything else is basically from the donkey tutorial.
the eyes, the mane and the tail were the parts i had the most trouble with.
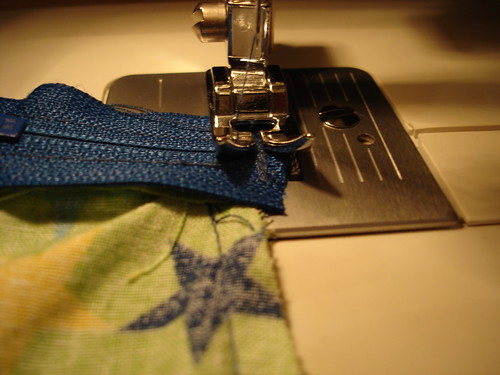
i'm not very experienced when it comes to working with embroidery floss.


we gave the girls their presents during church since they were the only kids we had in class that day and i was so happy because they LOVED the unicorns!


they got them out and immediately started running around the room making them eat things and run on the chairs and make funny noises.
it was so cute!
the dragon themed gift i went with was the dragon slippers i learned to make a few months ago.
when i made them before i modified them to be dino slippers though.
remember?

but this time i did full on dragon slippers.


we had traced the kids' feet a couple weeks before as part of our lesson so i kept the little boy's tracing and used it when i made the slippers for him.
i'm so tricky!
we took his present to his house and i think it's safe to say he liked them because he put them on almost immediately after opening them.
i made them a little big, like the tutorial suggests, so he can keep wearing them for a while.
we recently found out he's moving away to a place that stays cold longer than one month out of the year so hopefully those little dragons will keep his feet warm.
we're really gonna miss that little guy.
and now after all the sewing and present making i'm in the crafting mood.
what should i make next?